 (Image via
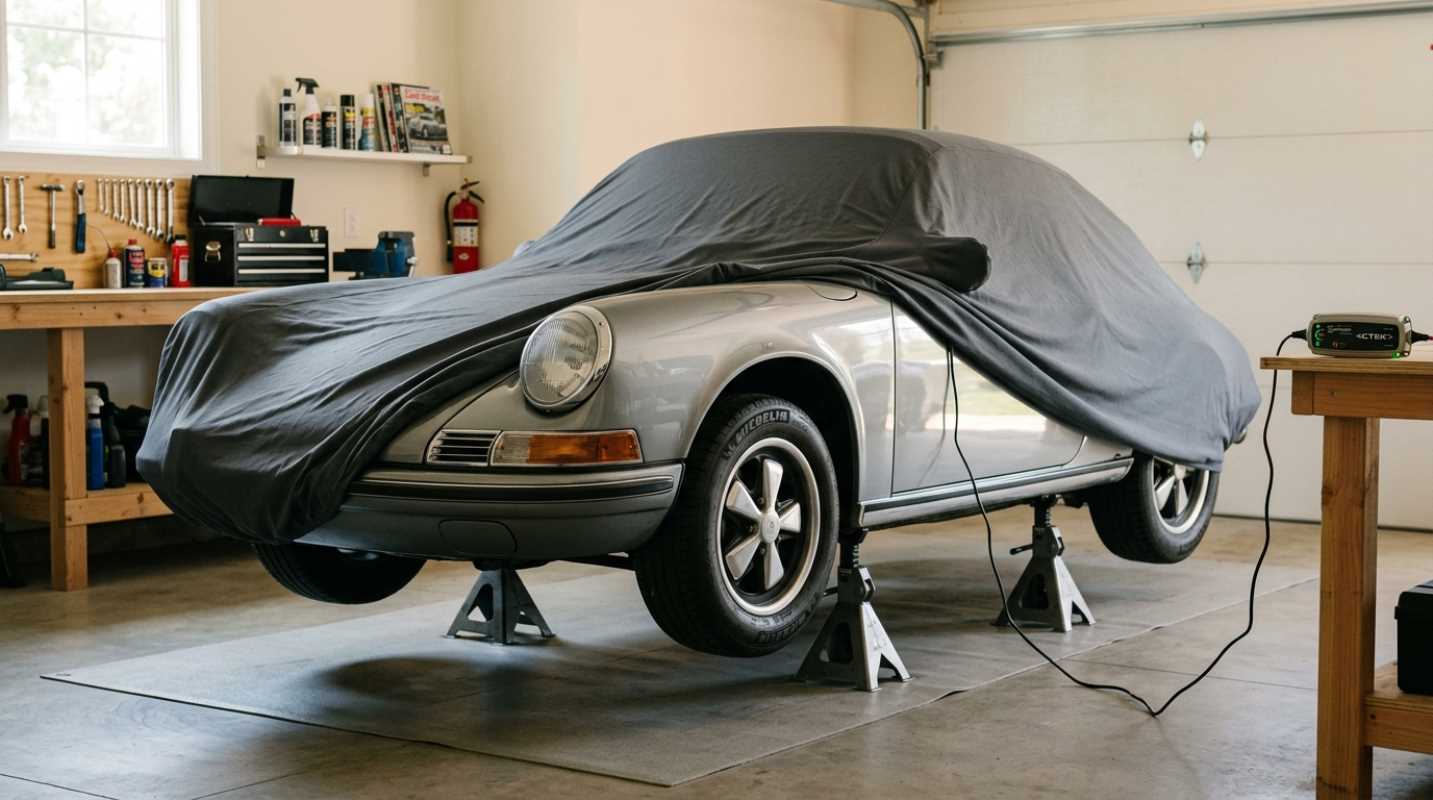
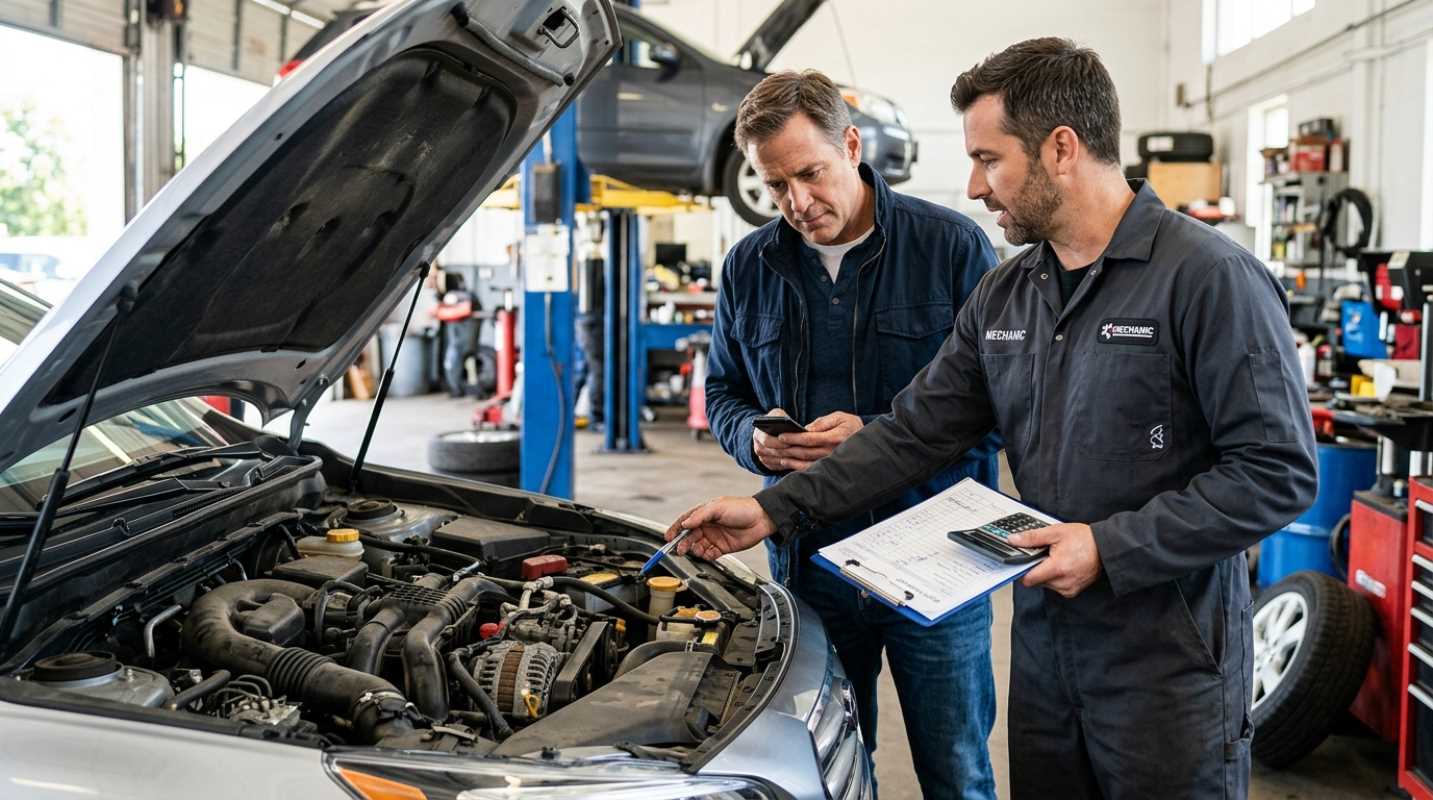
Taking care of your car doesn't require a degree in mechanical engineering or a garage full of expensive tools. Many vehicle owners feel intimidated by what lies under the hood, believing that maintenance belongs strictly to the professionals. You possess the ability to perform several essential tasks right in your own driveway, often with just a few basic tools. Tackling these simple jobs can save you a significant amount of money and give you a profound sense of pride in your ride. This guide highlights manageable weekend projects specifically designed for beginners who want to learn. We will walk you through replacing filters, changing wiper blades, and other straightforward updates that keep your car running smoothly and safely.
Breathing Easier: Replacing the Engine Air Filter
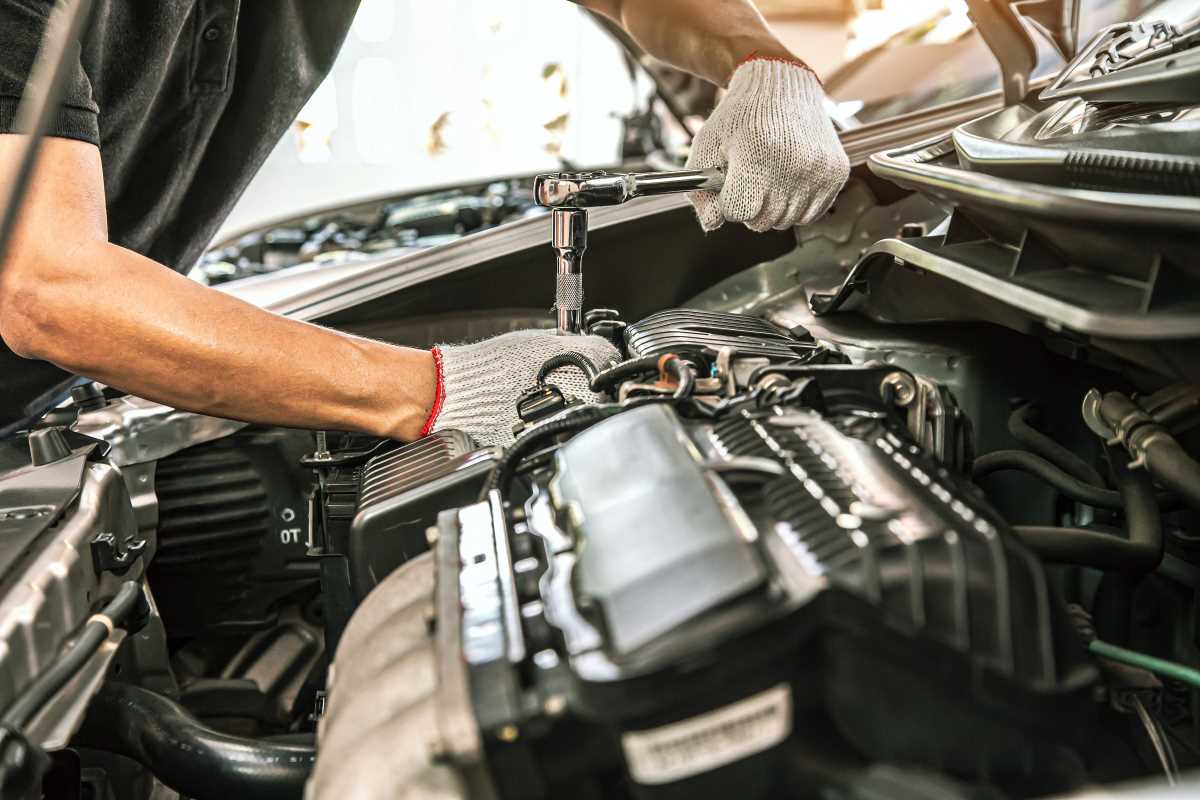
Your engine requires a constant supply of clean air to burn fuel efficiently. A dirty or clogged air filter restricts this airflow, acting like a stuffy nose for your car. This restriction forces the engine to work harder, which can reduce acceleration and hurt your fuel economy. Swapping out an old filter is arguably the easiest maintenance task you can perform, and it offers immediate benefits for your vehicle’s health.
Locating the Filter Box
Most modern cars house the air filter in a black plastic box near the front or side of the engine bay. It is usually easy to spot because a large hose connects it to the engine. You rarely need tools to open this box. Metal clips or clamps typically hold the lid in place, though some models might use a couple of screws. Popping these clips open allows you to lift the lid and expose the filter inside.
The Swap Process
Remove the old filter and hold it up to a light source. Seeing light pass through the pleats means it might still have some life, but a filter blocked by dirt and gray grime needs to go. Take note of how the old filter sits in the box before removing it completely. Place the new filter in the exact same orientation, ensuring the rubber rim seats snugly around the edges. Closing the lid and re-fastening the clips completes the job. You have just improved your engine's efficiency in less than ten minutes.
Seeing Clearly: Changing Windshield Wiper Blades
Visibility is paramount for safe driving, yet many drivers tolerate streaky, squeaking wiper blades until a heavy downstorm makes it impossible to see. Rubber degrades over time due to exposure to sunlight, freezing temperatures, and road debris. Replacing your wiper blades is a quick, inexpensive fix that keeps you and your passengers safe during bad weather.
Selecting the Right Blades
Auto parts stores make finding the correct size incredibly simple. Most have a digital kiosk or a printed guide in the aisle where you can look up your car’s make, model, and year. You will likely need different sizes for the driver and passenger sides. Buying a quality pair is worth the small extra cost, as they tend to last longer and perform better in heavy rain.
The Installation
Lift the wiper arm away from the windshield until it locks in a vertical position. Most blades attach with a simple "J-hook" mechanism. Locate the small tab or button where the blade meets the metal arm. Pressing this tab releases the lock, allowing you to slide the old blade down and off the arm. Slide the new blade into the hook until you hear a firm click. Gently lower the arm back onto the glass to avoid cracking the windshield. Testing them with a bit of washer fluid ensures they are secure and ready for the next rainy day.
Improving Interior Air Quality: The Cabin Air Filter
Many drivers are unaware that their car has a second air filter specifically for the passenger cabin. This filter cleans the air coming through the vents, trapping pollen, dust, and exhaust fumes before you breathe them. A clogged cabin filter can lead to musty odors and reduce the effectiveness of your air conditioning and heater. Changing this filter helps everyone inside the car breathe easier and keeps the interior smelling fresh.
Accessing the Filter
Manufacturers typically install the cabin air filter behind the glove box. You can usually access it by opening the glove box and squeezing the sides inward to release the stops, allowing the bin to swing down further than usual. Some cars may require removing a few screws, but the process remains straightforward. Behind the glove box, you will see a rectangular plastic cover. Unclipping this cover reveals the filter slot.
Installing the Fresh Filter
Slide the old filter out gently to avoid spilling debris onto the floor. Pay close attention to the airflow arrows printed on the side of the old filter. The new filter must be installed with its arrows pointing in the same direction to ensure proper airflow. Slide the new unit into the slot, snap the cover back on, and reassemble the glove box. You have now successfully upgraded the air quality of your daily commute.
Powering Up: Cleaning Corroded Battery Terminals
A car battery is the heart of your vehicle's electrical system, but corrosion can slowly choke off its power. White or blue powdery buildup on the battery terminals creates resistance, making it harder for the battery to start the engine. Cleaning this corrosion is a simple preventative measure that can save you from being stranded with a car that won't start.
Safety First
Wear protective gloves and eye protection, as the powdery substance is acidic and can irritate your skin. Ensure the engine is off before you begin. You can mix a simple cleaning solution using a tablespoon of baking soda and a cup of warm water. This mixture neutralizes the acid and bubbles away the corrosion.
Scrubbing the Terminals
Disconnect the negative (black) cable first, followed by the positive (red) cable, to prevent short circuits. Dip an old toothbrush or a dedicated wire battery brush into your baking soda solution and scrub the metal posts and cable connectors. The goal is to reveal shiny, clean metal. Wipe everything dry with a clean rag once the corrosion is gone. Reconnect the positive cable first, then the negative cable. Tighten them securely so they don't wiggle. A clean connection ensures your battery delivers full power every time you turn the key.
Staying Visible: Replacing Headlight and Taillight Bulbs
A burnt-out bulb is not just a safety hazard; it is an invitation for a traffic ticket. You do not need to visit a mechanic for most bulb replacements. Modern headlight and taillight assemblies are generally designed for easy access from the back, meaning you rarely have to remove the entire lens housing.
Accessing the Bulb
Open the hood or trunk to locate the back of the light assembly. You will see a wiring harness connected to the back of the bulb socket. twisting the socket counterclockwise usually unlocks it, allowing you to pull the bulb straight out of the housing. Some vehicles may have a rubber dust cover or a wire clip that you need to remove first.
Handling the New Bulb
Crucial advice applies here: never touch the glass of a new halogen headlight bulb with your bare fingers. The natural oils from your skin can create a hot spot on the glass, causing the bulb to shatter or burn out prematurely. Use a clean tissue or wear gloves when handling the new bulb. Push the new bulb into the socket, insert it back into the housing, and twist it clockwise to lock it in place. testing the lights before you close everything up confirms that your repair was a success.
Visual Fluid Checks
Fluids are the lifeblood of your vehicle, and you don't need to be a mechanic to ensure they are at safe levels. Most reservoirs in the engine bay are made of translucent plastic with clear "Min" and "Max" markings. Taking two minutes to glance at these can prevent major headaches.
What to Look For
Locate the coolant reservoir, brake fluid reservoir, and windshield washer tank. The liquid inside should be visible through the plastic. You can simply top off the windshield washer fluid with a jug from any gas station. For coolant and brake fluid, a level below the "Min" line might indicate a leak or worn pads. You should top these off with the specific fluid type listed in your owner's manual, but consistent drops in fluid levels are a sign you should consult a professional. Regular visual checks give you peace of mind and help you catch small problems before they become big ones.
We hope this guide empowers you to pop the hood with confidence this weekend. Each of these tasks is a small victory that contributes to the long-term health of your vehicle. Start with one job, take your time, and enjoy the satisfaction of knowing you did it yourself.