 (Image via
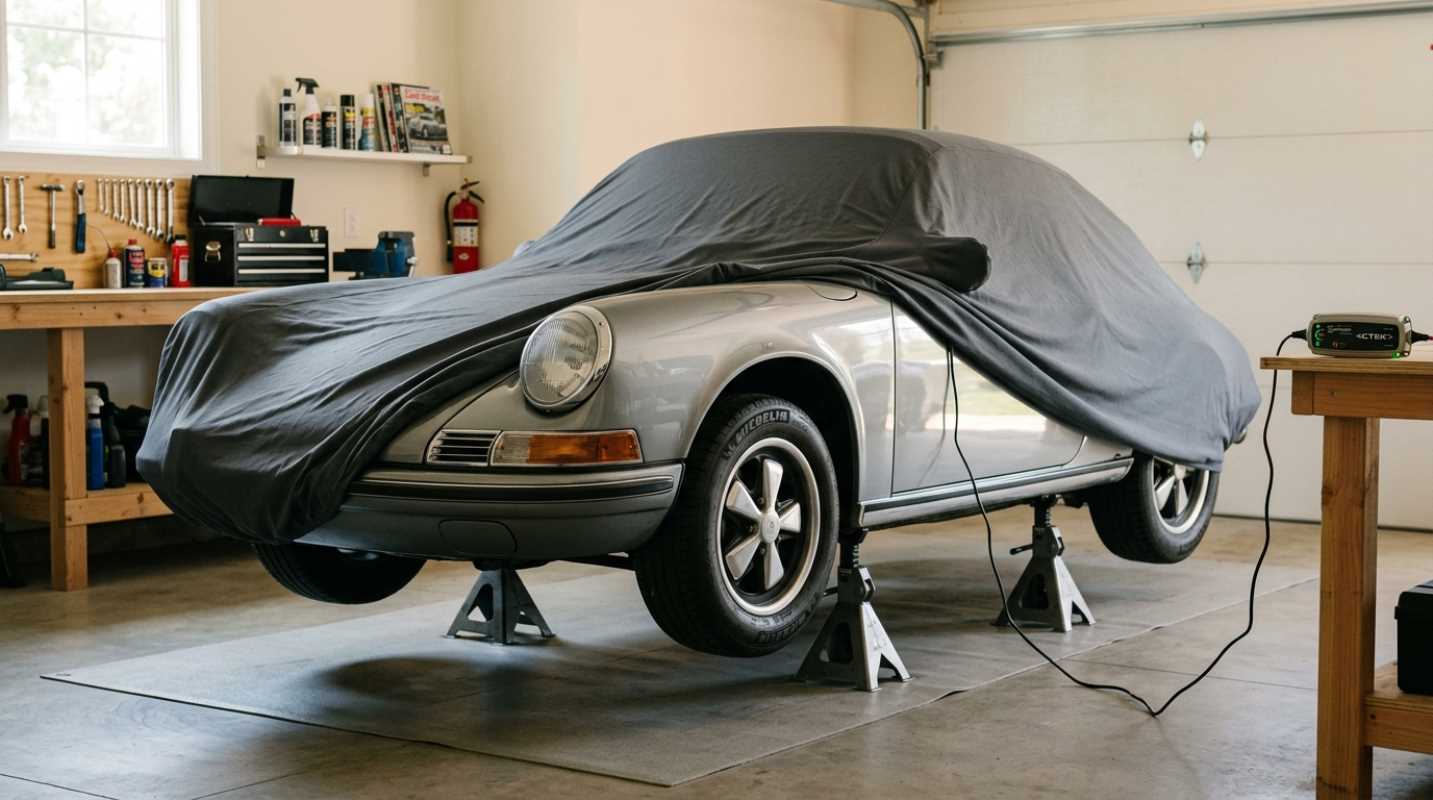
Achieving a showroom-quality clean for your vehicle does not always require a trip to a professional detailer. With the right tools and a little know-how, you can achieve remarkable results right in your own driveway. This guide is here to walk you through the essential products and techniques that empower you to surpass professional standards. We will explore everything from advanced washing methods to interior deep-cleaning secrets. You will learn about specific tools that protect your car’s finish and products that restore its interior to a like-new condition. Taking on your car's detailing yourself not only saves money but also gives you a deeper connection to your vehicle and the satisfaction of a job well done. Let's get started on your path to detailing mastery.
The Two-Bucket Wash Method: Your First Step to a Flawless Finish
The foundation of any great detail is a proper wash. Professional detailers often use efficient but sometimes harsh methods to get cars clean quickly. You can achieve a safer and more effective clean by using the two-bucket wash method. This technique is designed to prevent the swirl marks and fine scratches that happen when you drag dirt across your car’s paint.
What You Need for a Two-Bucket Wash
To do this correctly, you will need two five-gallon buckets, ideally one labeled "Wash" and the other "Rinse." Each bucket should have a Grit Guard insert at the bottom. These simple plastic grates are crucial, as they trap dirt and prevent it from getting back into your wash mitt. You will also need a high-quality pH-neutral car shampoo and a plush microfiber wash mitt. Avoid using dish soap, which can strip protective waxes and sealants from your paint.
The Process Explained
- Preparation: Fill both buckets with water. Add the recommended amount of car shampoo to your "Wash" bucket and stir it to create suds. Leave the "Rinse" bucket with just plain water.
- Initial Rinse: Start by thoroughly rinsing your vehicle with a hose to remove loose dirt and debris. This step makes the washing process much safer for your paint.
- Washing: Dip your clean microfiber wash mitt into the "Wash" bucket to load it with soapy water. Wash one small section of your car at a time, starting from the top and working your way down. This prevents dirt from the lower, grimier parts of the car from contaminating cleaner sections.
- Rinsing the Mitt: After washing a panel, do not put the mitt directly back into the soapy water. Instead, rinse it thoroughly in the "Rinse" bucket. Rub the mitt against the Grit Guard to dislodge any dirt particles.
- Reloading the Mitt: Once the mitt is clean, wring it out and dip it back into the "Wash" bucket. Repeat the process until the entire vehicle is clean. You'll be amazed at how much dirt collects at the bottom of the rinse bucket, kept safely away from your car’s finish.
Clay Bar Treatment: The Secret to Silky-Smooth Paint
Even after a thorough wash, your car's paint can still feel rough to the touch. This is due to bonded contaminants like industrial fallout, tree sap, and road tar that washing alone cannot remove. A clay bar treatment is the solution. It gently lifts these embedded particles from the clear coat, leaving behind an incredibly smooth surface that is perfectly prepped for polishing and waxing.
How to Use a Clay Bar
Using a clay bar might seem advanced, but it’s a straightforward process. You will need a detailing clay bar and a clay lubricant spray.
- Start with a clean, dry car. Work in a shaded area.
- Take a small piece of the clay bar and flatten it into a pancake shape, about the size of your palm.
- Spray a generous amount of clay lubricant on a small section of the car (e.g., a 2x2 foot area). Lubrication is key to preventing scratches.
- Gently glide the clay bar back and forth over the lubricated area with light pressure. You will feel and hear the clay picking up contaminants.
- Continue until the clay glides smoothly without any resistance.
- Wipe the area dry with a clean microfiber towel and check your work. The surface should feel as smooth as glass.
- Fold the clay bar to expose a clean side and move to the next section, continuing until the entire car is treated.
Interior Detailing: Beyond a Simple Vacuum
A truly clean car feels as good on the inside as it looks on the outside. While professional detailers do a good job, you can often achieve a deeper, more personalized clean with the right interior products. This is your personal space, and you can give it the attention it deserves.
Deep Cleaning Carpets and Upholstery
Your car's carpets and fabric seats trap dirt, stains, and odors. A high-quality fabric and upholstery cleaner, combined with a stiff-bristled brush, can work wonders.
For a professional-level deep clean, consider investing in a portable carpet extractor. These machines spray a cleaning solution deep into the fabric fibers and then use powerful suction to pull out the dirt, grime, and solution. This method is far more effective than simply blotting a stain, as it removes the source of the problem entirely. It’s the same technology professionals use, but owning one allows you to tackle spills as they happen.
Protecting Your Interior Surfaces
All the plastic, vinyl, and rubber surfaces in your car, like the dashboard and door panels, are susceptible to fading and cracking from UV exposure. Many commercial interior shines leave a greasy, dust-attracting finish.
Instead, opt for a high-quality, water-based interior protectant with UV blockers. These products provide a clean, satin finish that is not oily to the touch. They nourish the material, help prevent sun damage, and repel dust, keeping your interior looking newer for longer. Apply it with a microfiber applicator pad for an even, streak-free result.
The Finishing Touches: Sealants and Waxes
After all your hard work cleaning and decontaminating the paint, the final step is to protect it. This is where paint sealants and waxes come in. Many people use the terms interchangeably, but they are different products with distinct advantages.
Paint Sealants: Long-Lasting Synthetic Protection
Paint sealants are fully synthetic products engineered to bond with your car’s paint, creating a durable layer of protection. A sealant can last anywhere from four to six months, sometimes even longer. They offer excellent protection against environmental contaminants like acid rain, UV rays, and road salt. The shine they produce is often described as a sharp, reflective gloss.
Carnauba Wax: Unmatched Depth and Warmth
Carnauba wax is a natural product derived from the leaves of a Brazilian palm tree. It is prized by enthusiasts for the deep, warm, wet-looking shine it imparts on a vehicle’s paint. While it may not last as long as a synthetic sealant (typically six to eight weeks), the visual result is often considered superior.
For the ultimate combination of protection and shine, you can apply both. First, apply a layer of paint sealant for long-lasting durability. After it has cured, top it with a layer of high-quality carnauba wax to add depth and richness to the finish. This two-step process gives you the best of both worlds and a result that will turn heads.